
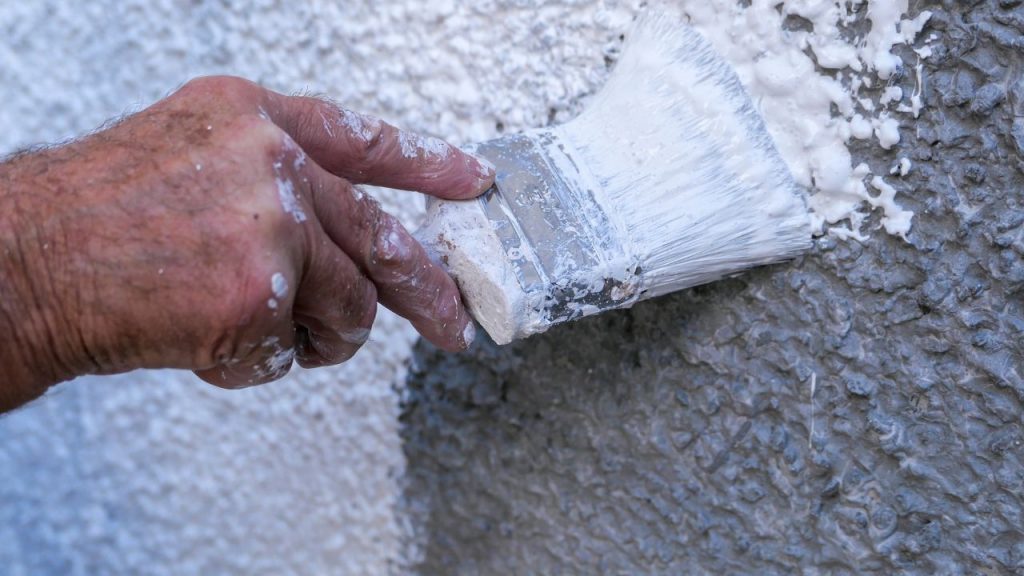
Pebbledash has a reputation for being one of those exterior surfaces that makes homeowners wonder, “Was this supposed to look like that?”
But beneath all those little stones is a perfectly paintable masonry surface—and with the right preparation, paint, and application method, pebbledash can go from tired and patchy to clean, uniform, and surprisingly modern.
The catch? You can’t treat it like a smooth plaster wall.
The rough aggregate creates hundreds of tiny peaks, valleys, and pockets that can hide dirt, hold moisture, and make ordinary painting techniques frustrating.
So, if you’re planning to paint pebbledash, the preparation and application method matter just as much as the paint itself.
What is Pebbledash – Can You Paint It?
Pebbledash is an exterior wall finish made by throwing or pressing small stones or aggregate into a wet cementitious render or mortar coating. Once cured, the result is a highly textured, hard-wearing surface commonly found on exterior walls.
And yes—you can paint pebbledash.
In fact, painting a pebbledash can be a practical way to refresh a weathered finish, unify areas where the color has faded, and give the exterior a completely different appearance.
But is painting it always a good idea?
Generally, yes, provided the existing surface is sound and reasonably dry. Painting becomes a bad idea when the pebbledash is severely cracked, loose, damp, or suffering from persistent water ingress. Paint isn’t structural repair in a fancy disguise. If the substrate is failing, deal with that first.
Before painting, inspect the wall for loose stones, hollow-sounding areas, significant cracks, algae, moss, efflorescence, or damaged render. Remove loose material and repair defective areas using a suitable exterior masonry repair/render product.
Also check the moisture condition of the wall. Exterior masonry needs to be able to release moisture, so avoid trapping damp behind an overly impermeable coating.
For most homes, a high-quality exterior masonry paint with good water resistance and appropriate vapor permeability is the sensible choice. A flat or matt masonry finish usually looks more natural on heavily textured surfaces because it minimizes the appearance of unevenness.
Some manufacturers also offer textured masonry coatings when additional surface uniformity or crack-bridging capability is required.
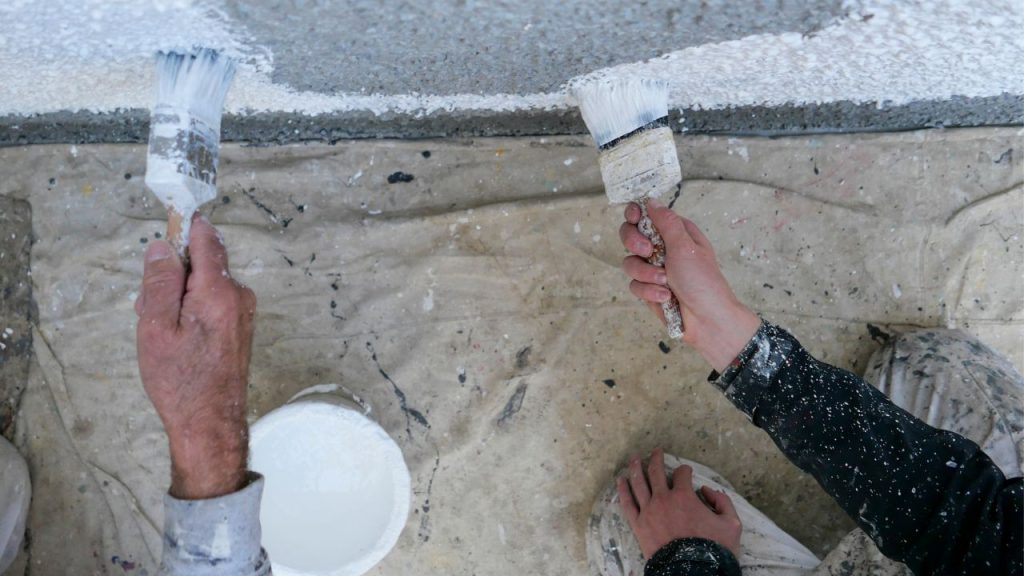
3 Ways to Paint Pebbledash Like a Professional
When you plan to paint pebbledash, there isn’t one magical pebbledash painting technique.
Your best method depends on the texture, size of the wall, accessibility, and how much paint you’re prepared to wrestle with.
| Painting Method | Best For | Finish |
|---|---|---|
| Masonry Brush | Small walls, heavily textured pebbledash, edges, corners, and areas requiring maximum control | Matt or low-sheen masonry paint |
| Long-Pile Roller | Medium-to-large walls with relatively consistent texture | Matt or low-sheen masonry paint |
| Spray Painting | Large exterior walls and faster, professional-style applications | Matt masonry paint; textured/elastomeric coatings where appropriate |
1. Masonry Brush – The Maximum-Control Method
If the pebbledash is particularly rough or uneven, a stiff masonry brush can be your best friend.
Start by cleaning the wall thoroughly. Remove dirt, algae, loose particles, and flaking old paint. Allow the surface to dry completely.
Next, repair cracks and damaged sections. For isolated cracks, use an appropriate exterior masonry filler; for larger damaged areas, repair the render/pebbledash before painting. Once cured, brush away loose dust.
Apply the masonry paint using a large, durable masonry brush. Work the paint firmly into the texture, brushing in different directions so the coating reaches the recesses between the stones.
Don’t overload the brush. Two thinner, well-worked coats are generally better than one heroic coat that sits on the surface.
2. Roller – Faster, But Choose the Right One
A roller is considerably faster than a brush, but pebbledash demands a long-pile or masonry roller. A short-pile roller simply glides over the high points while leaving the valleys looking suspiciously untouched.
Load the roller evenly and work in manageable sections. Apply moderate pressure rather than trying to crush the roller into the wall. For very coarse pebbledash, you may need to follow the roller with a masonry brush to push paint into particularly deep recesses.
Allow the first coat to dry according to the manufacturer’s instructions before applying the second.
A useful trick is to paint in overlapping sections while maintaining a wet edge. This reduces visible lap marks and helps keep the color consistent across the wall.
3. Spray Painting – The Speed Demon
For large areas, airless spray application can be extremely efficient. It can deliver a more consistent coating over a heavily textured surface and significantly reduce application time.
But there’s a catch: overspray.
Mask windows, doors, gutters, fixtures, paving, plants, vehicles, and anything else you don’t want wearing your new wall color. Exterior spraying also requires suitable weather conditions—wind can turn a five-minute spraying job into a neighborhood redecorating project.
For masonry, use a coating and spray tip/nozzle combination recommended by the paint manufacturer. Maintain a consistent spray distance and overlap each pass evenly rather than randomly chasing thin spots.
On extremely coarse pebbledash, back-rolling immediately after spraying can help work the coating into the texture and improve coverage. Always follow the coating manufacturer’s application instructions, because not every masonry paint is designed for spraying.
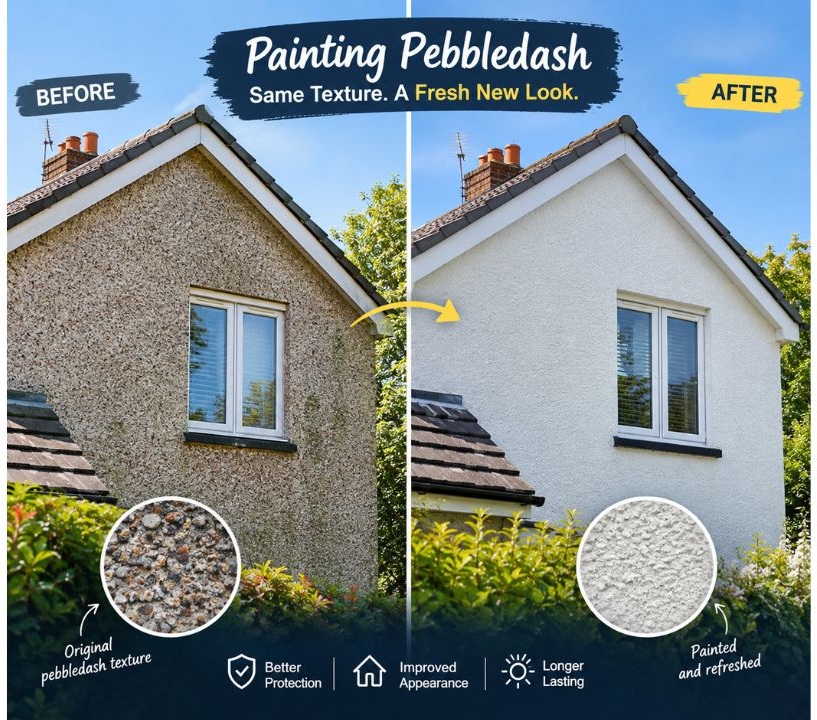
Don’t Skip the Boring Part: Surface Preparation
The most impressive paint job can still fail if the wall underneath is dirty, damp, or unstable.
Before applying anything, clean the pebbledash and allow it to dry. Remove loose paint and aggregate, repair cracks and damaged render, and treat biological growth with an appropriate masonry/algae treatment.
If the surface is very porous or chalky, a masonry stabilizing primer may be appropriate—but don’t automatically prime every wall. Use the primer specified for your particular substrate and paint system.
Finally, check the weather forecast. Avoid painting during rain, when rain is imminent, or under unsuitable temperature and humidity conditions. Direct, intense sunlight can also cause paint to dry too quickly, making application more difficult.
Pebbledash may never become a smooth wall—and honestly, it doesn’t need to. The goal is to make that texture look intentional, clean, and consistent.
Choose the right masonry coating, prepare the surface properly, and use the application method that suits the texture. Do that, and even the roughest pebbledash can get a remarkably professional-looking makeover.
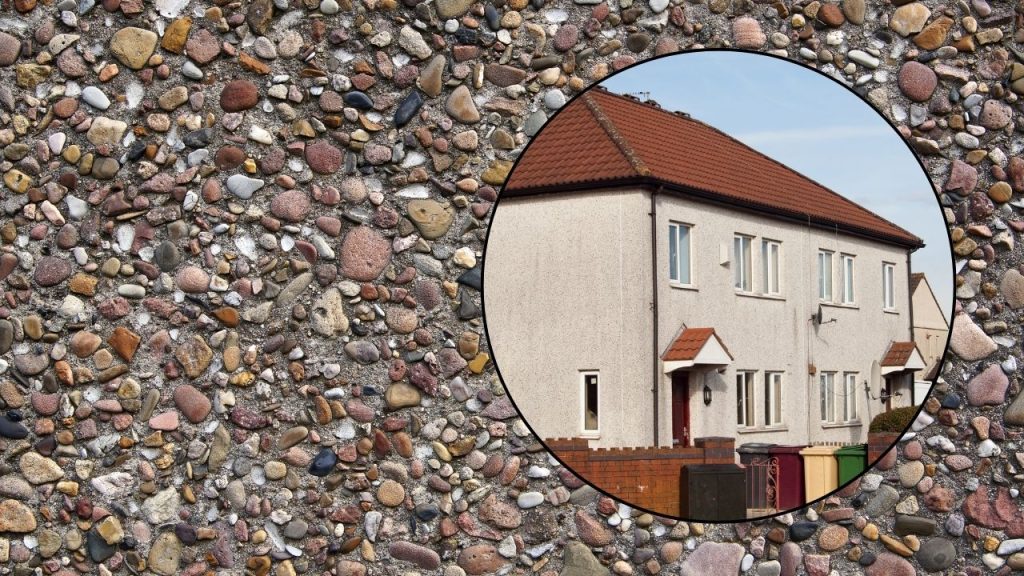
Can You Remove Pebbledash – What to Replace it With?
Painting isn’t the only way to give a pebbledash exterior a makeover. If you’re tired of the rough texture—or the wall has become damaged, loose, or difficult to maintain—you can remove the pebbledash and replace it with a completely different exterior finish.
But before you reach for a hammer, remember: pebbledash is usually part of the exterior render system, not simply a decorative layer you can casually peel off. Aggressive removal can damage the underlying render or masonry, turning a cosmetic renovation into a much bigger repair job.
If the existing substrate is sound, you have several options.
1. Smooth Render
One of the most straightforward transformations is to remove the existing pebbledash and apply a smooth exterior render. This creates a clean, contemporary surface and gives you a much easier wall to paint afterward.
Depending on the substrate and climate, a compatible cementitious or polymer-modified render can be used. The key is proper adhesion and allowing each coat to cure according to the manufacturer’s requirements.
2. Through-Coloured Render
Want the new finish without depending entirely on paint? Through-coloured render is worth considering.
The pigment runs through the render rather than simply sitting on the surface as a paint film. That means minor scratches and superficial wear are generally less noticeable. It is available in various textures and colors, from relatively smooth finishes to subtle grain.
3. Brick Slips
If you like the character of exposed brick but don’t want to rebuild the wall, brick slips can provide a similar visual effect.
These thin brick pieces are installed over a suitable prepared substrate using a compatible adhesive and jointing system. However, the wall needs to be assessed first, and the installation must be detailed properly around windows, doors, corners, and other openings.
4. Exterior Cladding
For a more contemporary makeover, consider exterior cladding such as fiber-cement, timber, composite, or other rainscreen systems.
Besides changing the appearance dramatically, a correctly designed rainscreen can help manage rainwater by creating a drained and ventilated cavity behind the outer layer. But this is considerably more involved than simply repainting—you need proper flashings, ventilation, fixings, and moisture detailing.
Whatever replacement you choose, don’t select it based purely on a sample board. Check the condition of the existing wall, moisture movement, substrate compatibility, local weather conditions, and the manufacturer’s installation requirements first.
After all, the goal isn’t simply to hide the pebbledash. It’s to replace it with a finish that looks better and behaves properly for years.
The Bottom Line
Pebbledash may not be the easiest exterior surface to paint, but it certainly isn’t a lost cause. If the existing finish is sound, clean, and dry, painting is usually the simplest and most cost-effective way to give it a new lease on life.
A masonry brush gives you the most control, a long-pile roller speeds things up, and spray application can make large walls considerably quicker.
Whichever method you choose, proper preparation is what separates a professional-looking finish from paint that simply sits on the high spots and ignores everything underneath.
Share the post "How to Paint Pebbledash Like A Pro?"


Your basement is the perfect spot for building rooms you may not want in the main house. These may include Read more

Drywall is basically a panel composed of calcium sulfate dihydrate or gypsum. Other names include plasterboard, wallboard, sheetrock, gypsum board, Read more

Repainting the wooden window frames of your house is like putting on a nice, new summer dress after a long, Read more

While brushes and rollers are the traditional means of painting walls, spray paint is coming more in favor. For many Read more

Jack Luis is a semi-retired painter who loved painting his clients’ ideas on their walls.
He had worked as a painter for over a decade serving customers in areas such as Charleston, Mount Pleasant, Beaufort, and Georgetown, SC (South Carolina). Today in his free time, he likes to read and write about the newer techniques implemented in his profession. You may read more about him here or get in touch with him here.